Foreword
"Bought an inverter but don't know how to wire it?"
When purchasing a solar energy system, many people focus a lot of time comparing the power output of the panels and the capacity of the batteries. However, they only realize during installation that the inverter wiring is the most crucial and troublesome part of the entire system. Incorrect wiring can lead to anything from the system malfunctioning to equipment damage or even a safety accident.
Inverter wiring is divided into two main parts: the DC side (from the solar panel to the inverter) and the AC side (from the inverter to the home distribution box). It also includes various auxiliary lines such as grounding, communication, and monitoring. While these terms may sound complex to the average user, they are not difficult to understand. This article will clearly explain the inverter wiring for a home solar system, showing you what to pay attention to during installation and what to check during acceptance.
It's important to note beforehand that inverter wiring involves electrical work and must be performed by a certified electrician or experienced installer. This article aims to help you understand the principles and precautions of wiring, not to teach you how to install it yourself.
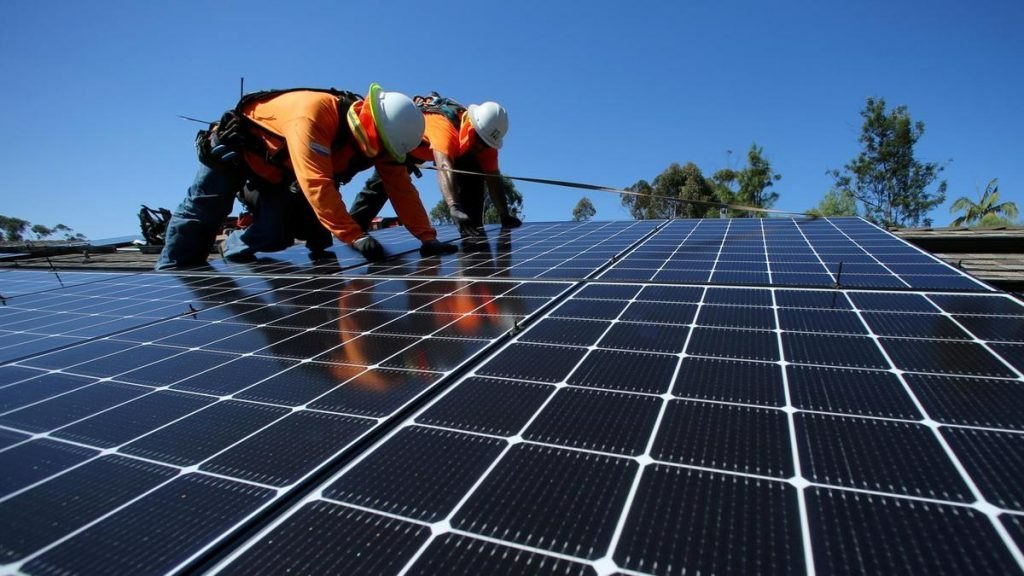
I. DC Side Wiring: Connection from Solar Panel to Inverter
The solar panels generate direct current (DC), which needs to be connected to the inverter via a DC line. This part of the wiring is the most delicate part of the entire system because of the characteristics of DC power—even at low voltages, the risk of electric shock is significant, and DC arcing is difficult to extinguish on its own.
First, let's discuss the series-parallel design of solar panels. In residential systems, solar panels are typically connected to the inverter in "strings." Each "string" consists of multiple panels connected end-to-end to form a current path, and multiple strings are then connected in parallel. The number of strings and the number of panels per string depends on the inverter's MPPT voltage range. For example, a 6kW hybrid inverter might have an input voltage range of 100V to 500V for each MPPT. Therefore, you need to calculate the number of panels in each string based on the open-circuit voltage of the panels to ensure the string voltage is within the inverter's allowable range.
Many installation novices ask, "Can I add a new board myself?" The answer is yes, but there are prerequisites. Each inverter has limits on maximum input current and maximum input power. Exceeding these limits may damage the inverter or cause it to operate at a reduced capacity. Before adding a new board, it's best to consult the original installer or inverter manufacturer to confirm whether your existing inverter has any capacity expansion capabilities.
Secondly, there's the connection of the MC4 connector. MC4 waterproof connectors are typically used at both ends of the DC cables in residential solar power systems. MC4 connectors have positive and negative terminals; when wiring, it's crucial to ensure the male and female terminals are correctly matched and not reversed. The crimping quality of the MC4 connector is extremely important; a loose crimp can lead to increased contact resistance, overheating, or even a fire. During acceptance testing, gently pull on the connector to confirm a secure connection.
Next is the selection of DC cables. Cables that are too thin will increase voltage drop and heat generation; cables that are too thick will increase costs. Common DC cable specifications for residential systems are 4 square millimeters or 6 square millimeters, corresponding to a maximum current of approximately 30A to 40A. Cables must be run in cable trays or conduits for protection and should not be exposed. The cabling from the roof to the inverter should be protected from sunlight and water, and corners should have a certain degree of curvature, avoiding sharp bends.
Finally, it's important to note that the DC side is energized when there is sufficient sunlight. Even when the inverter is not running, the solar panels themselves will continuously generate DC power. Before performing any operations on the DC line, the DC switch on the solar panels must be disconnected, and the panels must be covered with an opaque cloth to prevent voltage buildup. Remember: there is no "neutral wire" to turn off DC power; the only safety measure is to cover the panels.
II. AC Side Wiring: Connection from Inverter to Home Distribution Box
After the inverter converts direct current (DC) to alternating current (AC), it needs to be connected to the household distribution box via AC lines and then distributed to various electrical circuits. This wiring part is the same as the wiring logic of a regular household circuit, but there are a few points to note specific to solar energy systems.
First, the inverter's output must be connected to a dedicated circuit in the distribution box. The inverter cannot be directly connected to the main switch of the house; a separate dedicated line must be run from the distribution box, equipped with an independent circuit breaker and residual current device (RCD). The specifications of this circuit breaker must match the inverter's maximum output current. For example, a 6kW inverter with a maximum output current of approximately 27A under 220V single-phase power should be equipped with a 32A circuit breaker.
Secondly, the wiring direction of the grid-connected electricity meter is crucial. After the installation of a residential solar system, the power company will replace it with a bidirectional electricity meter to record electricity consumption and sales. The meter has several terminals, and the wiring must be correct for accurate measurement. The meter's input line connects to the power grid, and the output line connects to the household load. The inverter's output is connected in parallel to the output line. Some older residential areas or rural areas may have older single-phase electricity meters; before installation, it's essential to confirm that the power company will replace them with bidirectional meters, otherwise, grid connection and electricity sales may not be possible.
Again, pay attention to the inverter's phase. Residential inverters come in single-phase (220V) and three-phase (380V) types. Single-phase inverters can only be connected to a single-phase circuit. If the household has a three-phase meter, the inverter must be correctly connected to one of the phases; incorrect connection is not allowed. Three-phase inverters require balanced load distribution across the three phases; otherwise, three-phase imbalance may occur. Wiring three-phase inverters is relatively complex and must be done by a professional.
One more point to note: an anti-islanding protection device must be installed between the inverter's AC output and the power grid. This protection device's function is to automatically detect and quickly cut off the output when the power grid fails, preventing backfeeding to the grid. This function is usually integrated into the inverter, but it's still necessary to verify its proper operation during acceptance testing. The power supply bureau will focus on checking this function during grid connection acceptance.
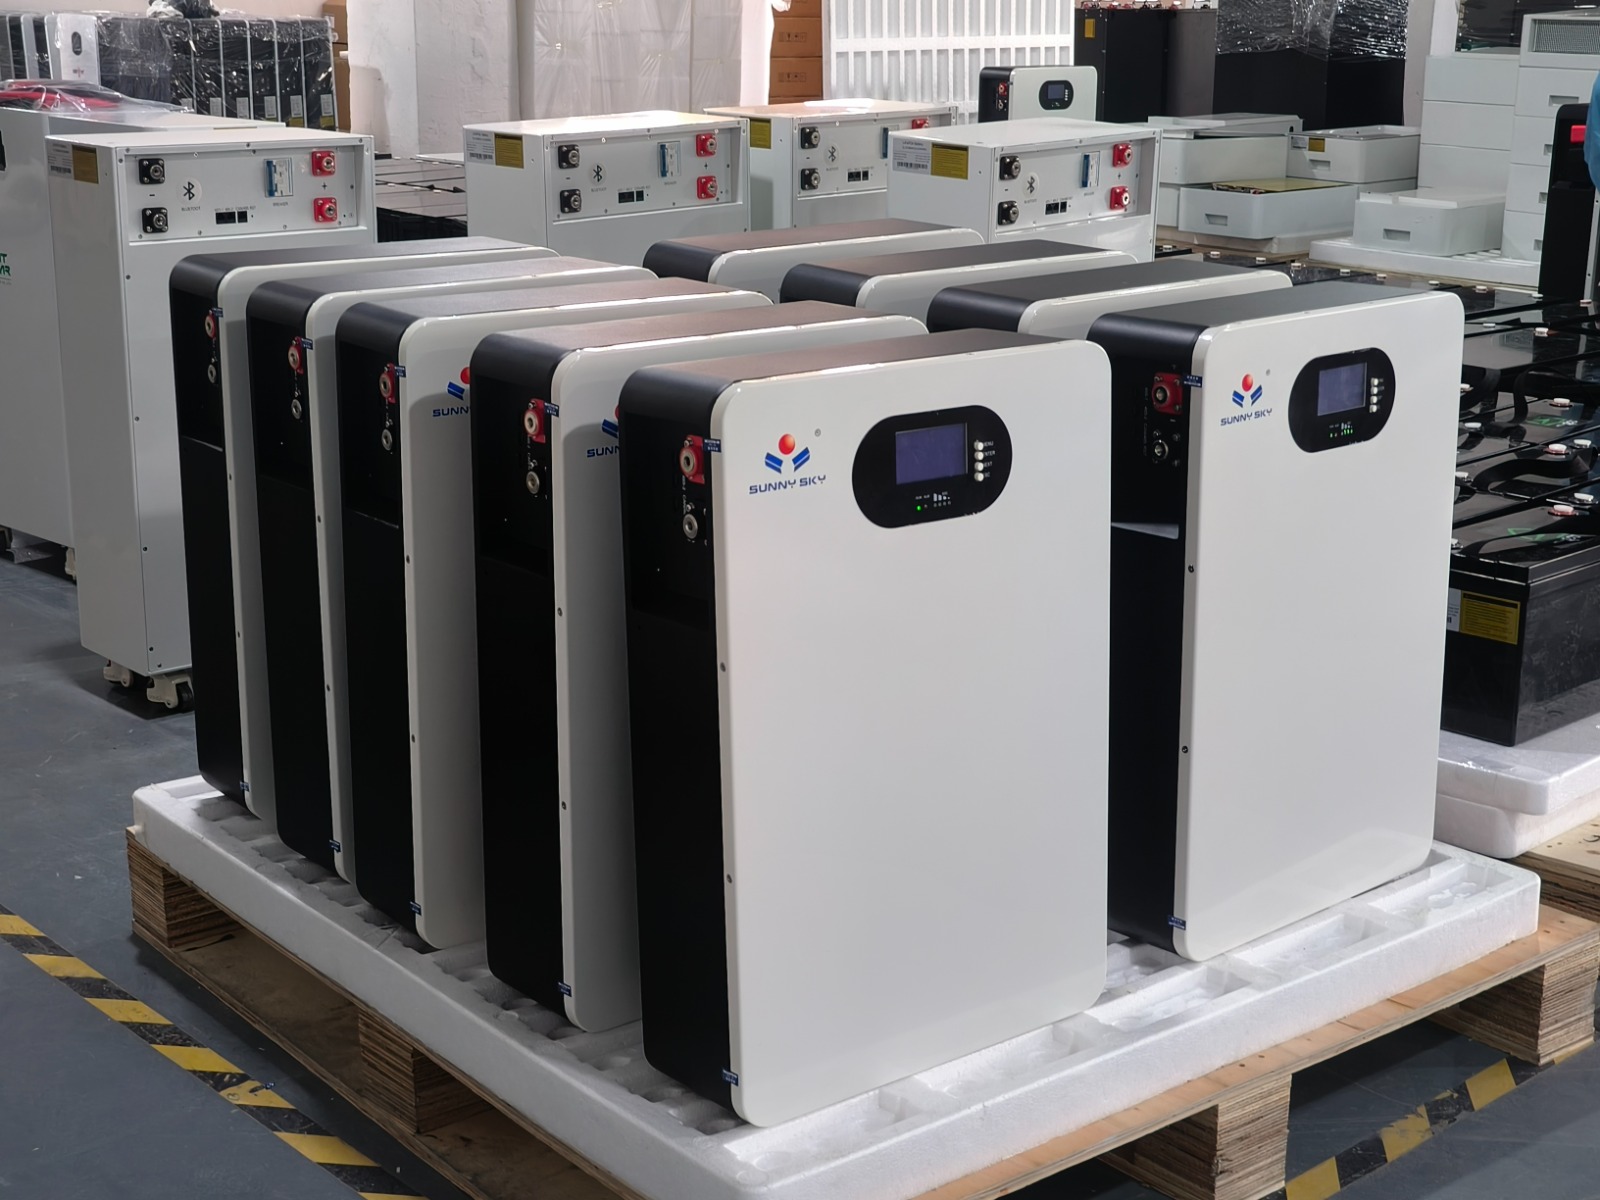
III. Grounding and Lightning Protection: Key Aspects of Safety Protection
Grounding is one of the most important safety aspects of solar system installation, but it is also the easiest to overlook.
Inverter grounding consists of two parts: protective grounding and functional grounding. Protective grounding is to prevent electric shock when the equipment casing is energized; the inverter's metal casing must be grounded, and the grounding resistance is generally required to be no greater than 4 ohms. Functional grounding, on the other hand, provides a stable zero point for the inverter's reference potential and is typically located on a dedicated grounding terminal on either the DC input side or the AC output side of the inverter.
The mounting brackets for solar panels also need to be grounded. Since the brackets are metal and installed on the roof, if struck by lightning and not grounded, the entire roof could become electrified, posing a significant danger. Grounding of the brackets is typically achieved by connecting them to the building's grounding grid using flat steel or copper wire. If the building does not have an existing grounding system, separate grounding stakes must be installed.
For users in areas prone to thunderstorms, it's also necessary to consider installing both DC and AC surge protectors. DC surge protectors are installed on the DC line between the solar panels and the inverter, while AC surge protectors are installed on the AC line between the inverter and the distribution box. The function of surge protectors is to limit the surge voltage generated by lightning strikes to a level that the equipment can withstand, protecting the inverter and indoor electrical equipment. Surge protectors are considered a "just in case" configuration, and many installers don't proactively include them to save costs. However, if thunderstorms are frequent in your area, it's recommended to add them.
IV. Communication and Monitoring: Making the System "Visible"
Modern inverters typically come with communication capabilities, allowing them to connect to WiFi or 4G modules and upload system data to the manufacturer's cloud platform. Users can then monitor power generation and operating status anytime via a mobile app. While this wiring doesn't affect the system's core power generation function, it does impact the daily user experience and requires attention.
The installation location of the WiFi module is important. Inverters are usually installed near the distribution box, which may be quite far from the router, and there may be walls in between. If the WiFi signal is weak, the app may frequently disconnect or fail to refresh data. It is recommended to test the WiFi signal strength at the inverter installation location with your phone before installation. If the signal is weak, consider using a WiFi signal amplifier or choosing a 4G module.
The communication lines between the inverter and the battery must be connected correctly. Many hybrid inverters need to communicate with energy storage batteries, typically using CAN or RS485 protocols. The purpose of the communication lines is to allow the inverter to read the battery's status information (remaining charge, temperature, voltage, etc.) and control the charging and discharging strategies accordingly. CAN or RS485 lines also have positive and negative terminals; incorrect connection will prevent communication between the inverter and battery, and the battery may malfunction.
One more thing to note: some brands of inverters support the connection of power sensors or electricity meters to accurately measure a household's total electricity consumption and sales. This sensor is usually installed near the main switch in the distribution box, requiring a signal cable to be run from it to the inverter. If this is required, confirm the wiring plan with the installer before installation.
Conclusion
Inverter wiring is the most technically demanding part of solar system installation. This article outlines four core components: DC side series and parallel connections and MC4 connectors, AC side distribution box grid connection and electricity meter, grounding and lightning protection, and auxiliary lines for communication and monitoring.
To reiterate, inverter wiring must be performed by professionals; do not attempt it yourself. However, as a user, understanding these principles can help you in the following ways: First, when communicating with the installer before installation, you will be able to understand what they are saying and ask the right questions; second, during acceptance testing, you will know which details to check, instead of signing off without a clear understanding; third, when system problems occur, you will be able to quickly determine which part is causing the problem and communicate more efficiently with after-sales personnel.
The installation quality of a solar power system directly determines its lifespan and power generation performance. Hopefully, this article will help you establish a basic wiring knowledge framework, allowing you to avoid pitfalls and detours during installation.
Please contact Simon immediately to discuss your project:
WeChat: TY530643572
Telephone: +86 137 1166 0041