Foreword
In solar energy systems, there is a seemingly inconspicuous but crucial component – the MPPT controller.
Many people are familiar with solar panels and inverters, but know little about MPPT controllers. In fact, the MPPT controller plays a crucial role in a solar system, connecting the solar panels and batteries (or inverters) and being responsible for efficiently transferring the electricity generated by the solar panels to the load.
If you are installing or maintaining a solar system, or want to understand how a solar system works, this article will help you fully master the use of the MPPT controller. From basic principles to wiring and installation, from parameter settings to routine maintenance, you can find answers to most of the problems you encounter here.
I. What is an MPPT controller: Detailed explanation of its working principle
To understand the MPPT controller, you must first understand what problem it solves.
Solar panels generate direct current (DC), but their output characteristics are unique: unlike batteries, they do not output a stable voltage, but rather vary with changes in light intensity, temperature, and load size.
To give a concrete example, suppose a 100-watt solar panel operates at an optimal voltage of 30V and an optimal current of 3.33A under standard testing conditions (1000W/m² sunlight, 25℃). In this case, the solar panel's output power is 100W.
However, in actual use, the situation will change. In the morning when sunlight is weak, it might only be 200W/m², the optimal operating voltage might become 28V, the optimal operating current 2A, and the output power approximately 56W. At midday when sunlight is strong, the optimal operating voltage might become 32V, the optimal operating current 3.5A, and the output power approximately 112W. As the temperature rises, the optimal operating voltage will decrease; as the temperature falls, the optimal operating voltage will increase.
The key issue is that solar panels need to operate under specific voltage and current conditions to output maximum power. This specific voltage and current point is called the "maximum power point." And the maximum power point changes with variations in sunlight and temperature.
The core function of an MPPT controller is to continuously track this ever-changing "maximum power point," ensuring that the solar panels always operate at peak efficiency. This technology is called "Maximum Power Point Tracking," abbreviated as MPPT.
The working principle of an MPPT controller can be simply understood as follows: it continuously fine-tunes the load on the solar panel, observes changes in output power, and adjusts in the direction of increasing power until it finds the maximum power point. This process continues, so the MPPT controller always ensures that the solar panel operates in its optimal state.
Compared to direct charging without an MPPT controller, an MPPT controller can increase power generation by 20% to 40%. This increase is even more pronounced in areas with significant variations in sunlight conditions.
II. Types and Selection of MPPT Controllers
There are many types of MPPT controllers on the market, and several key parameters need to be considered when selecting one.
Power matching
The power of the MPPT controller needs to be matched with the total power of the solar panels. It is generally recommended that the rated charging current of the controller be 1.1 to 1.2 times the total current of the solar panels.
For example, if the total power of the solar panels is 1000W and the maximum power point operating current is about 10A, then choosing a controller with a rated current of 12A or higher is more appropriate. If the power is too low, the controller will limit the current, preventing the solar panels from generating electricity at their full potential; if the power is too high, although it will not affect power generation, it will increase costs.
Input voltage range
The input voltage range of the MPPT controller determines the types of solar panels that can be connected. The input voltage must be higher than the battery voltage for charging to occur, and it must not exceed the controller's maximum input voltage limit.
Common controllers have maximum input voltages of 60V, 100V, 150V, 200V, and 500V. When selecting a controller, ensure that the total open-circuit voltage of the solar panel string does not exceed the controller's maximum input voltage, and leave a margin of 10% to 20% (because the solar panel voltage will increase at low temperatures).
Output current and voltage
The controller's output charging current and output voltage need to be matched with the battery. Common controllers support lead-acid batteries, lithium iron phosphate batteries, ternary lithium batteries, etc. You need to confirm that the controller supports the type of battery you want to use.
Communication function
Mid-to-high-end MPPT controllers support communication methods such as Bluetooth, WiFi, and RS485, allowing connection to mobile apps or computer software to view charging status in real time, modify parameters, and upgrade firmware. This feature is extremely useful during debugging and maintenance.
Protection function
A good MPPT controller should have comprehensive protection functions, including overcharge protection, over-discharge protection, overcurrent protection, short circuit protection, reverse connection protection, and over-temperature protection. These protection functions can protect both the battery and the controller itself.
III. Wiring and Installation: Step-by-Step Instructions
Wiring and installing the MPPT controller is a major headache for many users. The following example uses a common 48V solar system to illustrate the wiring steps.
Wiring sequence
The wiring sequence is very important. The correct order is: connect the battery first, then the solar panel, and finally the load. The disconnection sequence is the reverse.
Step 1: Connect the battery
Connect the positive terminal of the battery to the "BAT+" terminal of the controller and the negative terminal to the "BAT-" terminal. After connection, the controller screen will light up, displaying the battery voltage and charge level. This step must be completed before connecting the solar panel, as the controller needs to recognize the battery voltage to function properly.
Step 2: Connect the solar panels
Connect the positive terminal of the solar panel to the "PV+" terminal of the controller and the negative terminal to the "PV-" terminal. Note that the solar panel will generate voltage immediately under strong sunlight, so avoid short-circuiting the positive and negative terminals when wiring. It is best to connect a circuit breaker or fuse in series in the circuit first.
Step 3: Connect the load
Connect the positive terminal of the load to the "LOAD+" terminal of the controller and the negative terminal to the "LOAD-" terminal. If the load current is large, select a cable with an appropriate wire diameter to avoid overheating of the circuit.
Precautions
First, make sure the positive and negative terminals are not reversed, as this will burn out the controller. Second, the cable specifications must be compatible; use thicker cables for applications with high current. Third, all terminals must be tightened securely; looseness can lead to overheating or even a fire. Finally, the installation location should be dry and well-ventilated, avoiding direct sunlight and rain.
IV. Parameter Settings: Optimize Your System
After wiring is completed, the MPPT controller parameters need to be set so that the system can work in the best condition.
Battery type settings
This is the most important parameter setting. Different types of batteries have different charging voltages and charging strategies. Common options include: sealed lead-acid batteries, gel lead-acid batteries, open-cell lead-acid batteries, lithium iron phosphate batteries, ternary lithium batteries, and user-defined options.
If using lithium iron phosphate batteries (48V system), the typical single-cell voltage is set to 3.2V, and the fully charged voltage is 58.4V (14 cells in series). For lead-acid batteries, the fully charged voltage is typically between 58.8V and 59.2V. Refer to the battery manufacturer for specific values.
Overcharge voltage setting
When the battery voltage reaches the overcharge voltage, the controller will stop charging to prevent overcharging. This voltage must be set accurately: if set too high, the battery will overcharge; if set too low, the battery will not be fully charged.
Taking a 48V lead-acid battery as an example, the overcharge voltage is usually set between 58.8V and 59.2V. The specific value should be adjusted according to the battery manufacturer's recommendations and the local temperature.
Equal charging settings
For lead-acid batteries, equalization charging prevents sulfation of the battery plates and increases battery capacity. Equalization charging is typically performed every 28 days or every 12 cycles. Lithium iron phosphate batteries do not require equalization charging.
Load output settings
Some MPPT controllers support load output functionality and can set the load's operating mode: pure light control mode (lights on when it gets dark and off when it gets light), light control plus timer mode (lights on when it gets dark and off after a set time), manual mode, timer mode, etc.
Temperature compensation settings
The charging voltage of a battery changes with temperature. As temperature rises, the charging voltage decreases; as temperature falls, the charging voltage increases. If the controller is equipped with a temperature sensor, temperature compensation should be enabled. The temperature compensation factor is typically -2 to -4 millivolts per cell.
V. Daily Use and Maintenance
After the MPPT controller is installed, there are some issues that need to be noted during daily use.
Monitor operating status
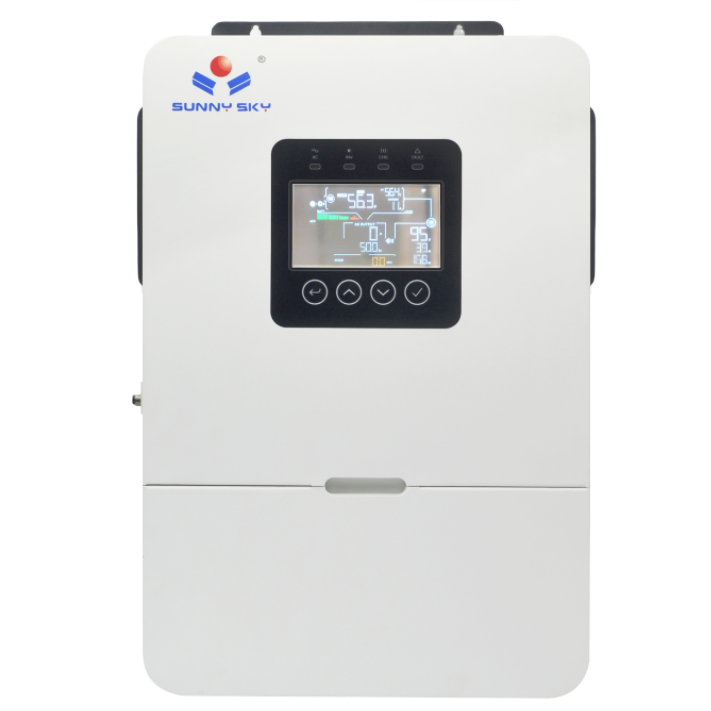
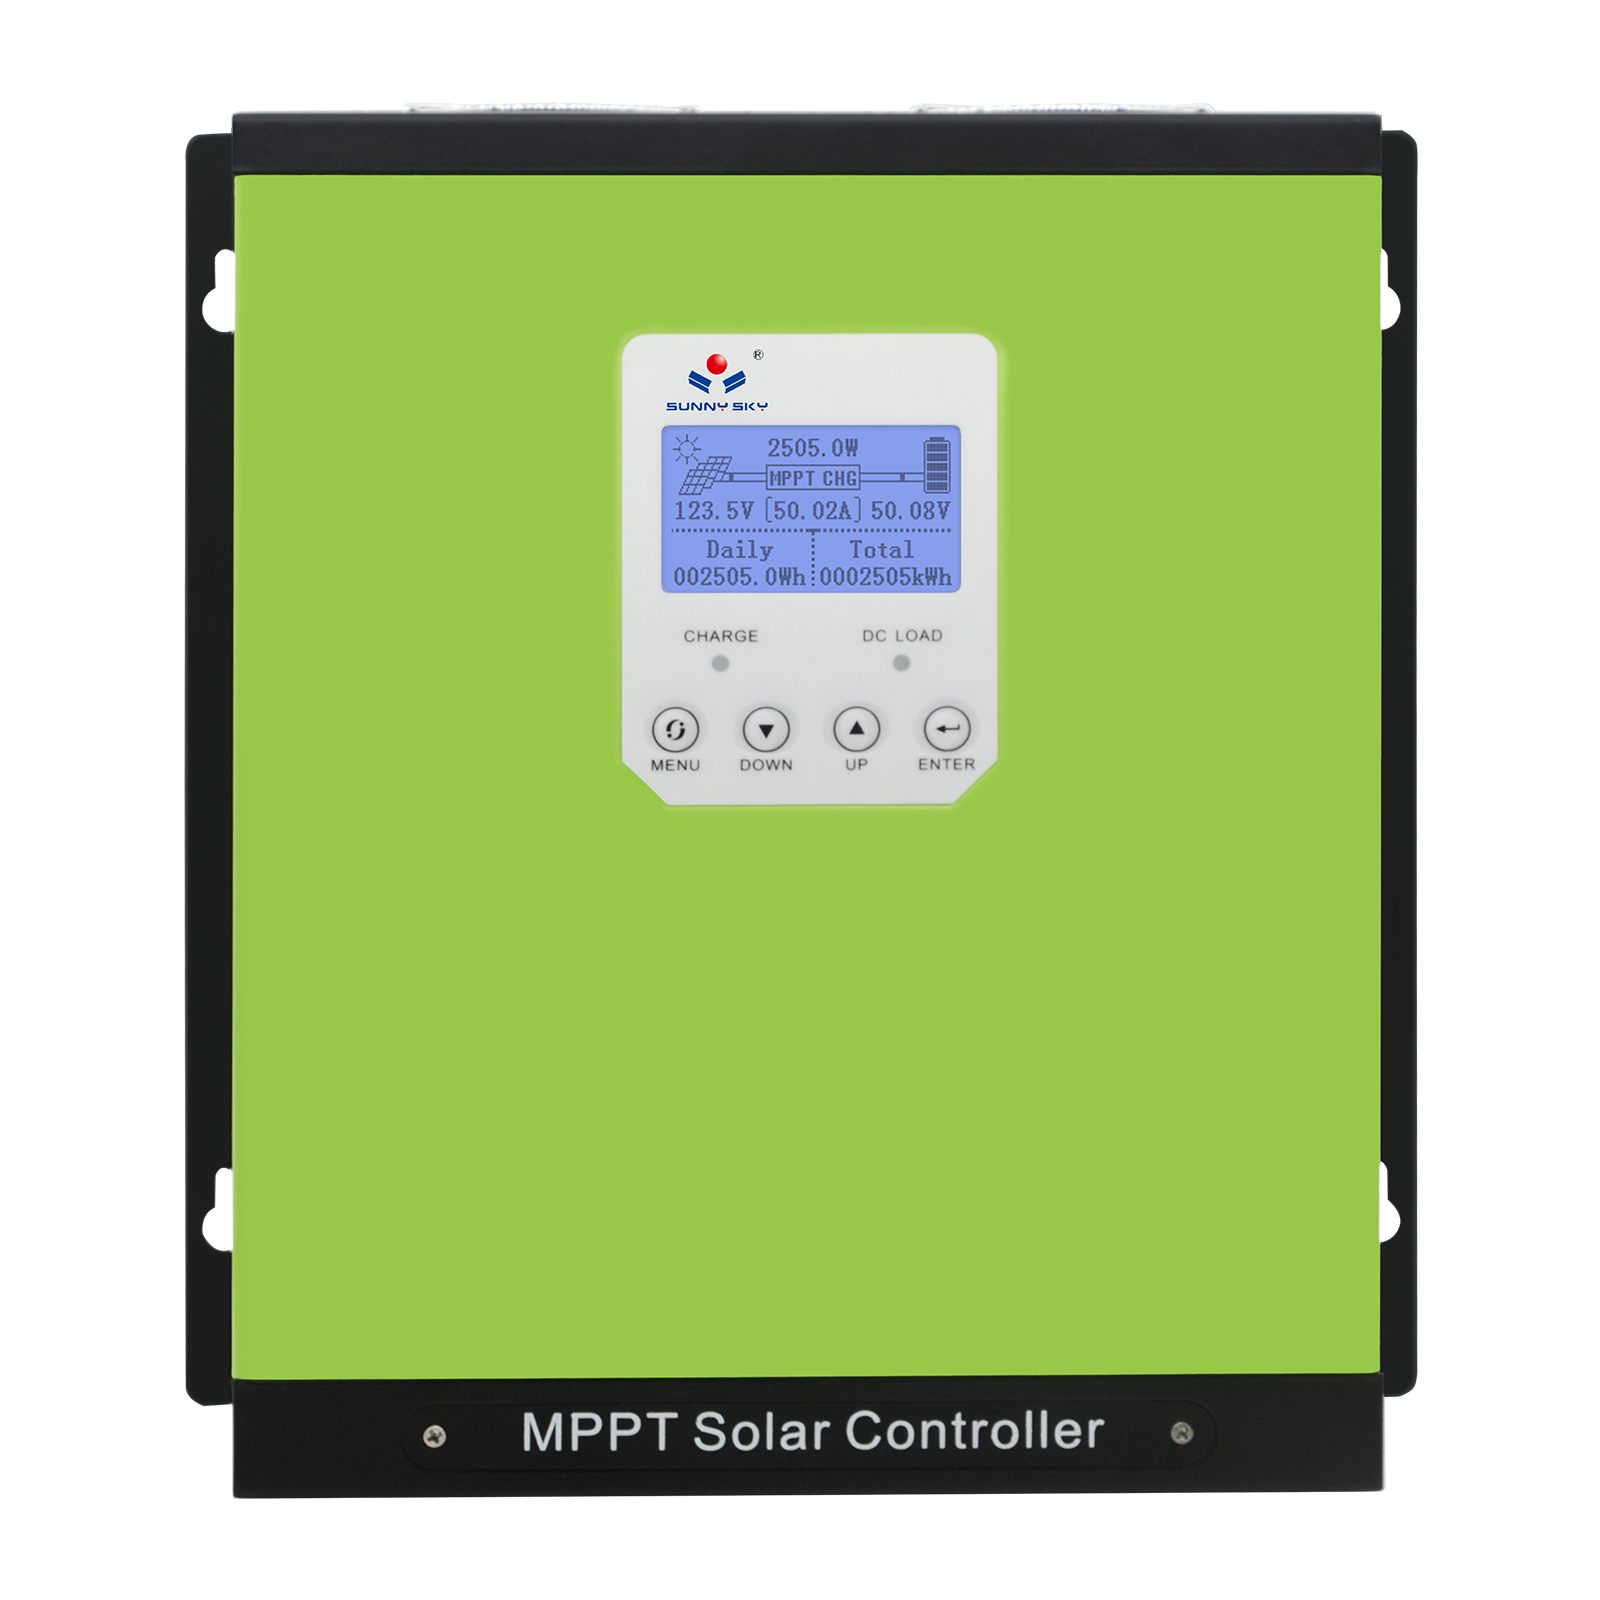
Most MPPT controllers have a display screen that shows data such as charging current, battery voltage, charging power, and cumulative charging amount. If a controller with communication capabilities is used, it can also be monitored in real time via a mobile app.
Checking monitoring data daily or weekly can help identify anomalies promptly. For example, a sudden decrease in charging current may indicate that the solar panel is obstructed or dirty; a battery that consistently fails to fully charge may indicate insufficient solar panel power or battery aging.
Clean solar panels regularly
Dust, fallen leaves, bird droppings, and other debris on the surface of solar panels can affect power generation efficiency. It is recommended to clean the solar panels every one to two months, especially in arid regions. Simply rinse with clean water; do not scratch with hard objects to avoid damaging the surface.
Check wiring
Every six months or a year, check all wiring for tightness, looseness, and signs of aging or damage. Pay special attention to the connectors of the solar panel output wires and battery output wires, as these are prone to oxidation or loosening.
Pay attention to ventilation and heat dissipation.
MPPT controllers generate heat during charging, especially when the charging current is high. Ensure the controller is installed in a well-ventilated location, away from obstructions. High temperatures reduce controller efficiency, and prolonged exposure to high temperatures can shorten its lifespan.
Preventing extreme weather
During thunderstorms, it is best to disconnect the solar panels from the controller to prevent damage from lightning strikes. In extremely cold regions, the batteries and controller should be properly insulated to prevent low temperatures from affecting performance.
VI. Common Problems and Solutions
The following are some common problems encountered when using the MPPT controller.
Problem 1: The controller screen is not lit.
Possible causes: Low battery voltage or battery not connected. Solutions: Check if the battery connection is correct and use a multimeter to measure the battery voltage. If the battery voltage is too low, you may need to charge it using another power source.
Question 2: The charging current is very small.
Possible causes: Insufficient solar panel power, solar panel being obstructed, poor solar panel angle, cloudy weather. Solutions: Check the solar panel for obstructions, the angle, and cleanliness. If the weather is good but the current is still low, the solar panel or controller may be faulty.
Question 3: The battery never fully charges.
Possible causes: Insufficient solar panel power, excessive load, aging batteries. Solutions: Verify that the solar panel power is sufficient, check for high-power loads running for extended periods, and consider replacing the batteries.
Question 4: The controller overheats severely.
Possible causes: Excessive charging current, high ambient temperature, poor ventilation. Solutions: Check if the charging current exceeds the controller's rated value, improve ventilation in the installation environment, and avoid direct sunlight on the controller.
Question 5: The load is not working.
Possible causes: Low battery voltage triggering protection, load power exceeding the controller's output limit, or load malfunction. Solutions: Check the battery voltage; the load will automatically restart after the battery charges and recovers. Verify that the load power is within the controller's allowable range.
VII. Introduction to Advanced Features
Mid- to high-end MPPT controllers also have some advanced features; understanding these features can help you better utilize your solar energy system.
Multiple charging modes
High-end controllers support multiple charging modes, such as constant current charging, constant voltage charging, float charging, and intelligent charging. The intelligent charging mode automatically adjusts the charging strategy based on the battery status, ensuring both a full charge and extended battery life.
Data Recording and Analysis
Some controllers can record daily, weekly, and monthly charging data, including cumulative charging amount, charging duration, and maximum charging current. This data can help analyze system performance and identify potential problems.
Remote monitoring and control
The MPPT controller can be remotely monitored and controlled via 4G, WiFi, or Bluetooth. This feature is very useful for large solar power systems or in situations where on-site inspection is inconvenient.
Linked with inverter
In hybrid energy systems, the MPPT controller can work in conjunction with the inverter to implement more complex energy management strategies. For example, it can automatically adjust charging and discharging strategies based on factors such as battery level, load power, and electricity price.

Conclusion
The MPPT controller is an indispensable core component of a solar energy system. Although it is not as conspicuous as the solar panel or as complex as the inverter, its role is crucial—without the MPPT controller, the solar panel cannot perform at its best, and the power generation efficiency of the entire system will be greatly reduced.
Choosing a suitable MPPT controller, proper wiring and installation, reasonable parameter settings, and regular inspection and maintenance are essential for the long-term stable operation of a solar energy system and for maximizing its power generation performance.
Hopefully, this guide will help you better understand and use the MPPT controller. If you have any further questions, please feel free to contact us.
Please contact Simon immediately to discuss your project:
• WeChat: TY530643572
• Telephone: +86 137 1166 0041