Foreword
Installing a home solar power system is a significant investment for many families and a first step towards a clean energy lifestyle. However, many people are unfamiliar with the entire process when considering solar installation, unsure where to begin, what materials are needed, what steps are involved, and how long it will take. In fact, while the installation process for a home solar power system involves multiple stages, understanding the overall framework allows for a clear understanding and a smooth, organized approach to the project.
This article provides a detailed overview of the entire process of a residential solar energy system, from initial preparation, solution design, equipment procurement, construction and installation, to final grid connection and acceptance. It covers all stages, including preliminary assessment and application, solution design, equipment selection, construction and installation, and grid connection acceptance, addressing specific precautions and common issues at each stage. Whether you're a beginner to solar energy systems or an advanced user seeking a more detailed understanding of the process, you'll find valuable information in this article. Understanding the installation process beforehand not only helps you avoid pitfalls but also facilitates better communication with suppliers, ensuring a smooth project implementation. Let me guide you through the entire installation process step by step.
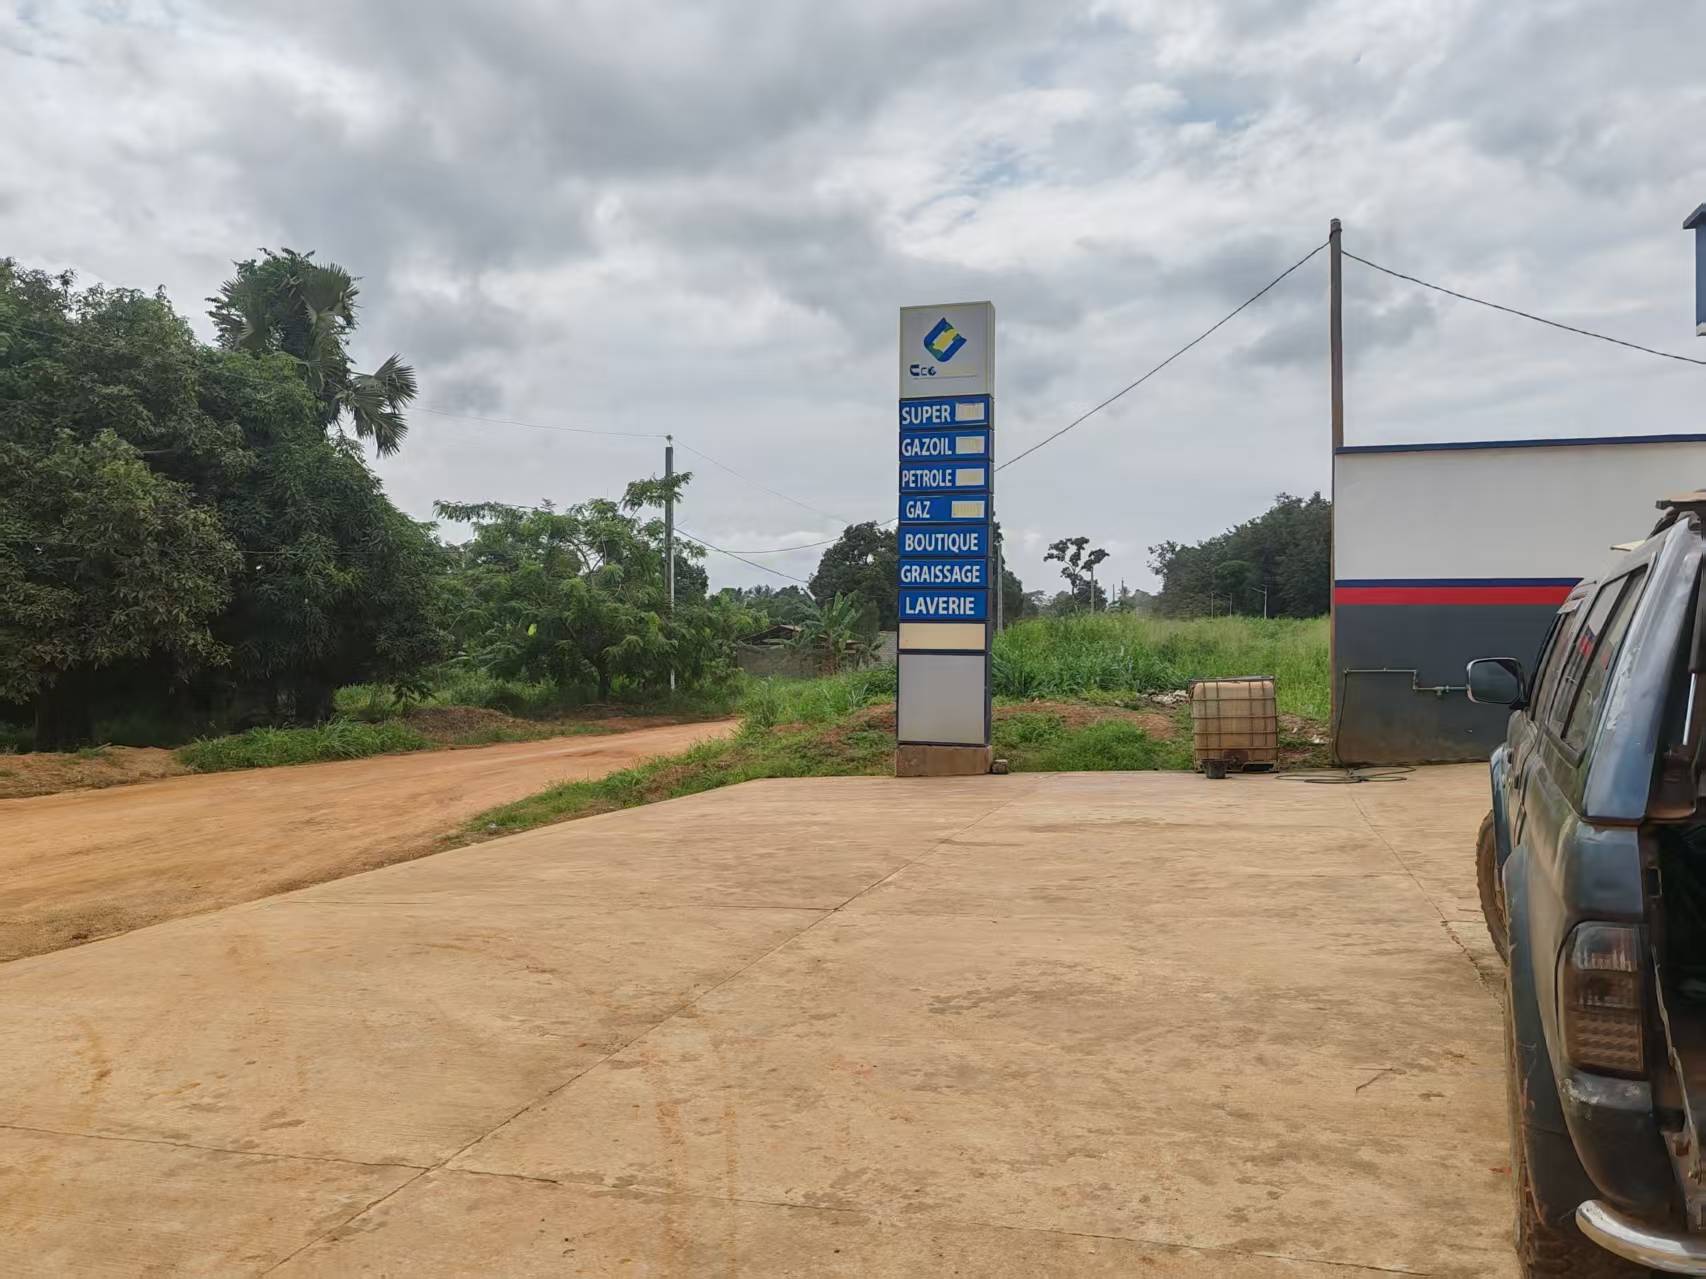
I. Preliminary Preparation and Application Stage
The first step in installing a home solar system is to do the preliminary work. The core tasks at this stage are assessing whether your home's conditions are suitable for installation and completing the necessary administrative application procedures.
Before deciding to install solar power, it's essential to assess the conditions of your rooftop or installation site. A suitable site should meet several basic conditions: ample space (approximately 30-40 square meters for a 5 kW system and 60-80 square meters for a 10 kW system); good orientation (ideally due south, with deviations up to 30 degrees east or west acceptable; excessive deviation will negatively impact power generation efficiency); shading issues (no tall trees, chimneys, buildings, or other obstructions above the roof, as these will significantly reduce power generation); load-bearing capacity (flat roofs require structural considerations, while pitched roofs are generally less problematic); and clear property rights (confirmation that the installation site is owned or written consent from the property owner is required). If all these conditions are met, you can proceed to the next step.
Next, you need to consult your local power supply bureau about the specific requirements and procedures for grid connection applications. Policies and procedures may vary from region to region, so understanding them in advance can help avoid unnecessary detours. Key points to understand include: whether there are any local subsidy policies, the amount of the subsidies, and the application conditions; the grid connection application process and the list of required materials; the transformer capacity limits for both the generation and consumption sides; the installation contractor qualification requirements and grid connection equipment requirements; and the approximate timeframe for the entire process. Power supply bureaus usually have dedicated staff responsible for distributed photovoltaic systems; you can schedule a consultation or go directly to their business hall to handle the process.
Before selecting an installer, you need to confirm your home's electricity usage and grid connection plan. This includes reviewing your electricity bills for the past year to understand your average monthly electricity consumption and the highest monthly consumption; confirming the type of meter (ordinary mechanical meters need to be replaced with bidirectional smart meters for grid connection); and understanding whether you need to submit a change application to the power company. If you plan to install an energy storage system, you also need to understand the local policies regarding grid connection for energy storage, as some regions have special regulations for connecting energy storage systems. After preparing this information, you can begin contacting solar energy suppliers.
Choosing an installer is the most crucial step in the initial preparation stage. A good installer not only provides reliable equipment but also professional solution design, standardized construction and installation, and comprehensive after-sales service. When selecting an installer, you should pay attention to the following: whether they have relevant construction qualifications and safety production licenses; whether they have successful project case studies to visit; whether the brands of the products they offer are well-known and reliable; their after-sales service commitments and response times; and whether their pricing is transparent and detailed, without any hidden fees. It is also advisable to compare prices from at least three different suppliers, and not just focus on price alone, as excessively low prices often indicate potential problems with materials and construction quality.
II. Scheme Design and Equipment Selection Stage
After the installer is selected, the next stage is system design and equipment selection. The core task of this stage is to determine the specific configuration of the system, select the appropriate equipment combination, and sign a formal supply and installation contract.
System design is typically completed by the installer's technical staff. Based on the preliminary site survey results, combined with the user's needs and budget, they will provide a detailed system plan. The plan should include: the brand, model, quantity, power, and efficiency parameters of the solar panels; the brand, model, power, and efficiency parameters of the inverter; the material, surface treatment, and wind pressure resistance rating of the mounting brackets; the specifications and laying plan of the cables; the type and configuration of the electricity meter; and system diagrams and electrical wiring diagrams. Users should request a detailed explanation of the plan from the installer to ensure they understand all aspects and raise any questions promptly.
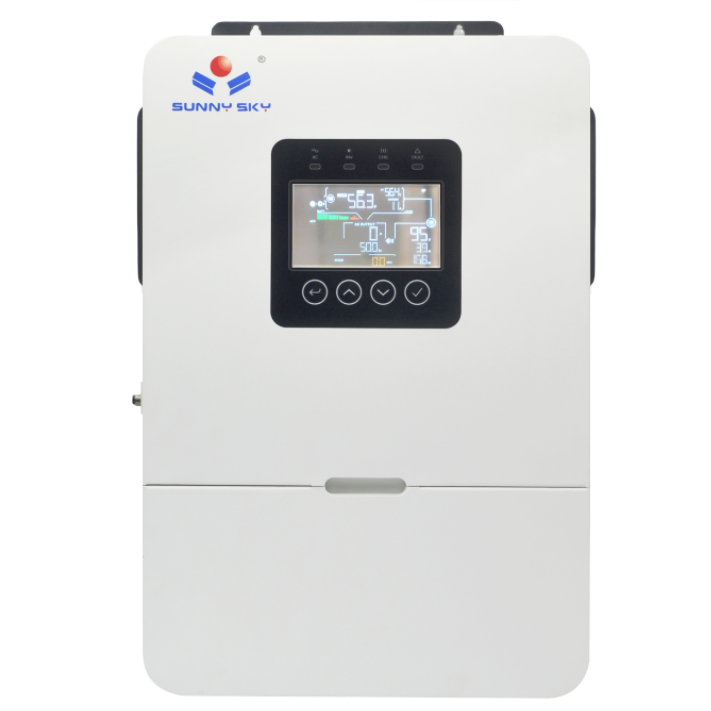
When selecting equipment, it's essential to understand the key considerations for each major component. For solar panels, focus on brand, conversion efficiency, and power degradation rate. Panels from well-known brands offer better quality assurance; high-efficiency panels require less space but are more expensive, while low-degradation panels offer advantages for long-term use. Inverter selection requires attention to power output, efficiency, warranty period, and communication capabilities. Energy storage battery selection requires comprehensive consideration of factors such as backup power requirements, average daily electricity consumption, and budget; lithium iron phosphate batteries are currently the mainstream choice for home use.
Signing the contract is the final step in the system design phase and a crucial step in protecting the rights of both parties. The contract should at least include: a detailed system configuration list and equipment brand and model; total price and payment method; construction period and delivery time; acceptance standards and procedures; warranty coverage and period; and liability for breach of contract and dispute resolution methods. It is strongly recommended that you request a written plan and quotation from the installer before signing the contract, and never pay based solely on verbal promises. A reputable installer should be willing to provide a detailed written plan and reasonable contract terms.
Equipment procurement is typically handled by the installer after the contract is signed. Users need to know the equipment's delivery time and status to confirm it is a genuine new machine and not a used or refurbished one. Some installers may procure equipment after the contract is signed; this waiting time usually ranges from two weeks to a month, depending on market availability. Users can request to see the equipment's factory certificate, inspection report, and other documents to ensure the equipment's legitimate origin.
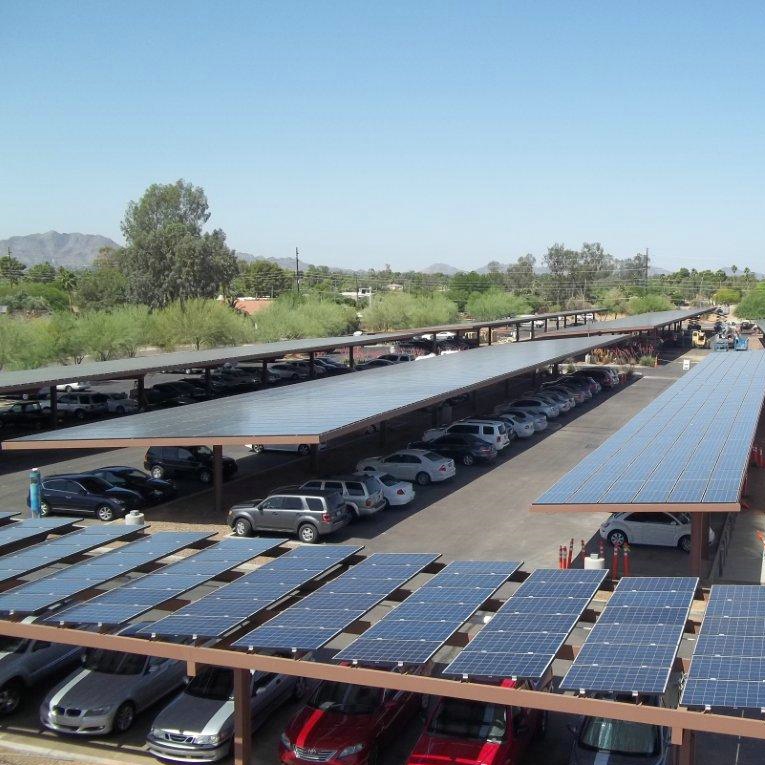
III. Construction and Installation Stage
After the equipment arrives and is confirmed to be in good working order, the construction and installation phase begins. The core task of this phase is to install the solar panels, inverters, brackets, and other equipment according to the design plan, and to complete the electrical connections and commissioning.
Preparatory work before construction includes: confirming the installation date and arranging construction personnel; clearing the installation site to ensure sufficient construction space; confirming the location of power lines and meter boxes; understanding the relevant regulations of the community or property management, and obtaining the necessary entry permits. If the installation is within a residential community, it may be necessary to inform neighbors or property management in advance and obtain the necessary cooperation.
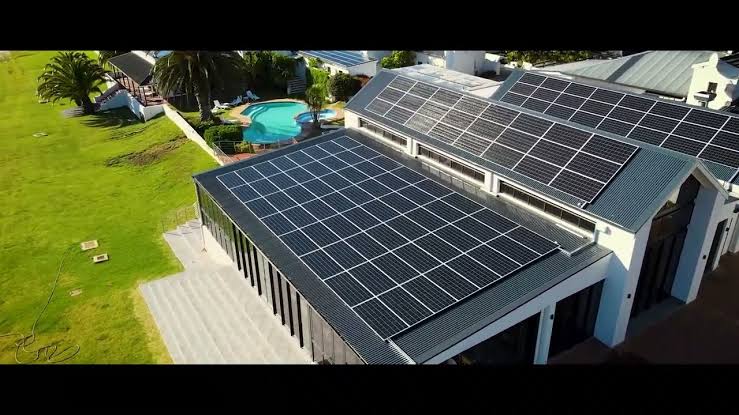
The installation of solar panels is the core of the entire construction process. The installation procedure includes three main steps: bracket installation, solar panel installation, and electrical connection. Bracket installation requires ensuring verticality and horizontality, and is fixed to the roof structure using expansion bolts or welding. Solar panels are secured to the brackets using specialized clamps, paying attention to adjusting the angle and spacing. Electrical connections include series connection between solar panels, installation of the combiner box, and laying of cables from the solar panels to the inverter. Electrical safety must be strictly observed during construction; all construction personnel must be certified, and power must be disconnected during construction.
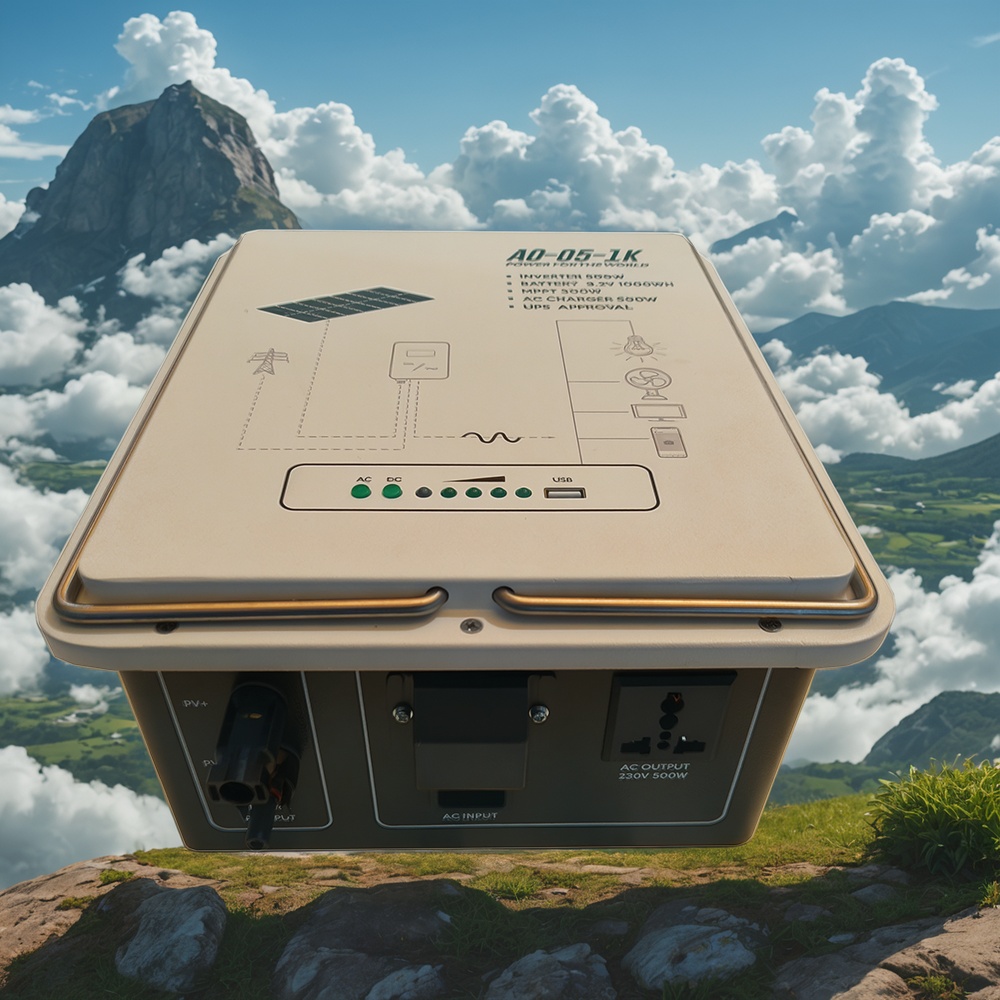
The installation location of the inverter needs to take into account factors such as ventilation and heat dissipation, rain and sun protection, and ease of operation. Indoor installation is best done in well-ventilated, dry spaces, such as garages or storage rooms; outdoor installation requires a product with sufficient protection rating to ensure waterproofing and dustproofing. The installation height of the inverter and the surrounding space must meet the manufacturer's requirements to facilitate subsequent operation and maintenance.
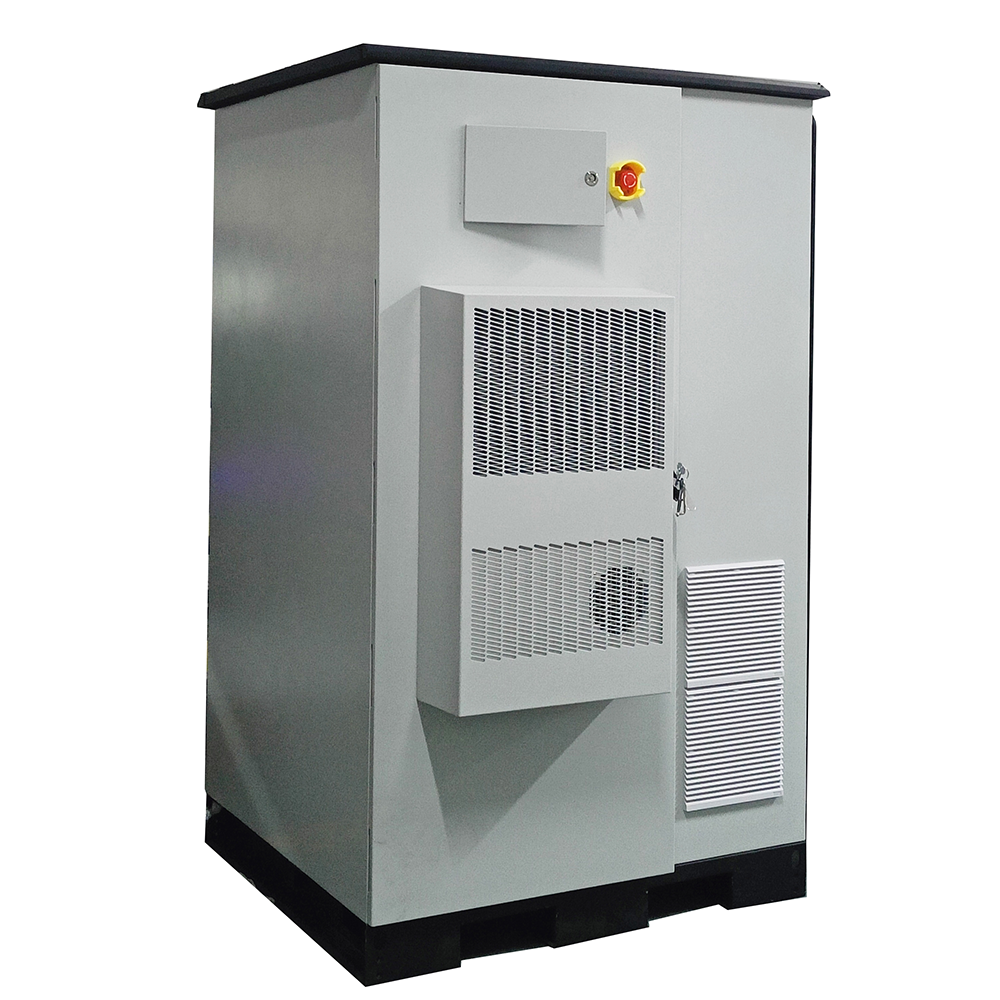
Special attention must be paid to safety regulations during the installation of energy storage batteries. Battery cabinets or racks must be securely fixed, and adequate spacing must be maintained between batteries to facilitate heat dissipation. The connecting cables between the batteries and the inverter must be of appropriate specifications and reliably connected. Large-scale energy storage systems may require a separate battery management system and monitoring equipment. After the entire battery system is installed, insulation and grounding tests must be performed to ensure safety.
Precautions during construction include: outdoor construction should not be carried out in rainy or extreme weather; safety belts must be worn when working at heights; the power must be disconnected before making any electrical connections; photovoltaic modules generate electricity under sunlight, so shading is necessary during operation to avoid electric shock; the site must be cleaned up after construction, and the roof or walls must be restored to their original condition. If users have any questions about the construction process, they can request updates from the installer or visit the site at their convenience.
IV. Acceptance, Grid Connection, and After-sales Service
After the construction and installation are completed during the operation and maintenance phase, the entire process is not over. Acceptance, commissioning and grid connection are still required, as well as subsequent operation and maintenance management.
Acceptance testing is a crucial step in confirming system quality. Acceptance checks include: verifying that the quantity, model, and specifications of the equipment match the contract; confirming that the installation location, angle, and spacing meet the plan requirements; ensuring the brackets and solar panels are securely fixed; verifying that cables are neatly laid and clearly labeled; confirming the adequacy of grounding and lightning protection facilities; and assessing the overall cleanliness of the appearance. Each item should be checked during acceptance, and any problems should be promptly raised and rectified by the installer. Acceptance documents should not be signed before any issues are resolved.
Grid connection commissioning is the final step before the system is put into operation. The commissioning work is jointly completed by the installer and the power supply bureau. The installer is responsible for conducting comprehensive electrical tests on the system, including open-circuit voltage testing, short-circuit current testing, insulation resistance testing, and inverter parameter settings. The power supply bureau is responsible for replacing or modifying the bidirectional meters and conducting pre-grid connection checks and confirmations. After commissioning is completed, the power supply bureau will enter the electricity price parameters and power generation subsidy parameters into the system, and the system can then be officially connected to the grid for power generation.
After grid connection, the electricity meter records electricity in two directions: one is the generation side, the electricity supplied by the user to the grid; the other is the consumption side, the electricity purchased by the user from the grid. Most regions' grid connection policies are based on net electricity consumption, meaning billing is based on the net value after offsetting generation and consumption. Some regions implement a system of full grid connection or full self-consumption, allowing users to choose the appropriate method based on their own circumstances.
After-sales maintenance is crucial for ensuring the long-term stable operation of the system. Reputable installers typically offer a free warranty for a certain period. The warranty period for solar panels is usually 10 to 25 years, for inverters 5 to 10 years, and for batteries 3 to 5 years. During the warranty period, the manufacturer is responsible for repairing or replacing faulty equipment, and the user does not incur additional costs. After the warranty period, users can choose to renew the maintenance contract with the installer or perform maintenance themselves. Routine maintenance mainly includes: regularly checking the equipment's operating status and power generation data; cleaning dust and debris from the surface of the solar panels; checking cables and connectors for damage or aging; and promptly reporting any abnormalities.
Users should also learn how to view the system's power generation data. Modern inverters typically have communication capabilities, allowing users to view real-time power, daily power generation, monthly power generation, and annual power generation data via a mobile app or webpage. Develop the habit of regularly checking power generation data. If a sudden and significant drop in power generation is observed on a particular day, it should be promptly checked for obstructions, malfunctions, or equipment abnormalities. Keep the equipment's product manual, warranty card, purchase invoice, and other relevant documents for future maintenance and warranty service.
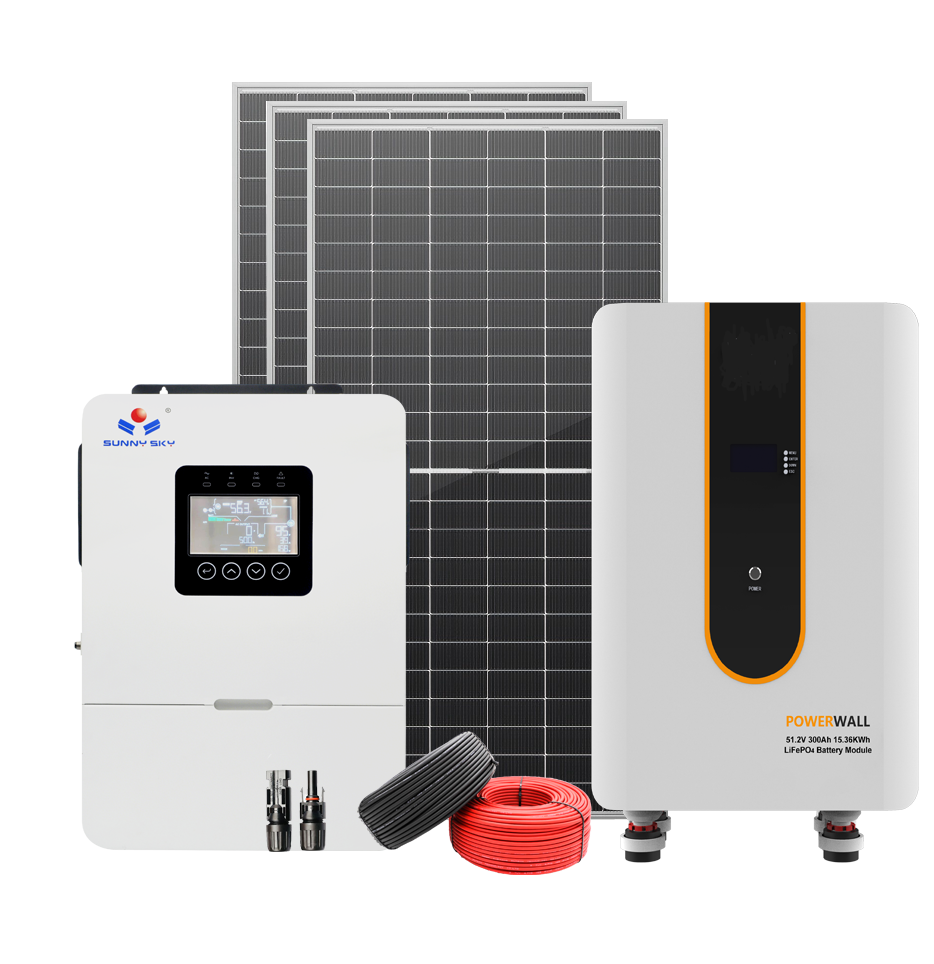
Conclusion
Although the installation process for a residential solar energy system involves several steps, it can proceed smoothly as long as it is carried out in an orderly manner according to the four stages: preliminary preparation, scheme design, construction and installation, and acceptance and grid connection. The key is to choose a reliable installer, understand the precautions for each stage, and not rush into omitting necessary steps.
Installing a solar system is a long-term investment; a properly configured system can last for over 25 years, requiring ongoing operation and management. Investing time in research beforehand and choosing reliable products and installers will save you a lot of trouble later. Hopefully, this article will provide you with a comprehensive understanding of the installation process for a home solar system, allowing you to be well-informed during installation and successfully achieve your goal of a clean energy lifestyle.
Please contact Simon immediately to discuss your project:
• WeChat: TY530643572
• Telephone: +86 137 1166 0041